
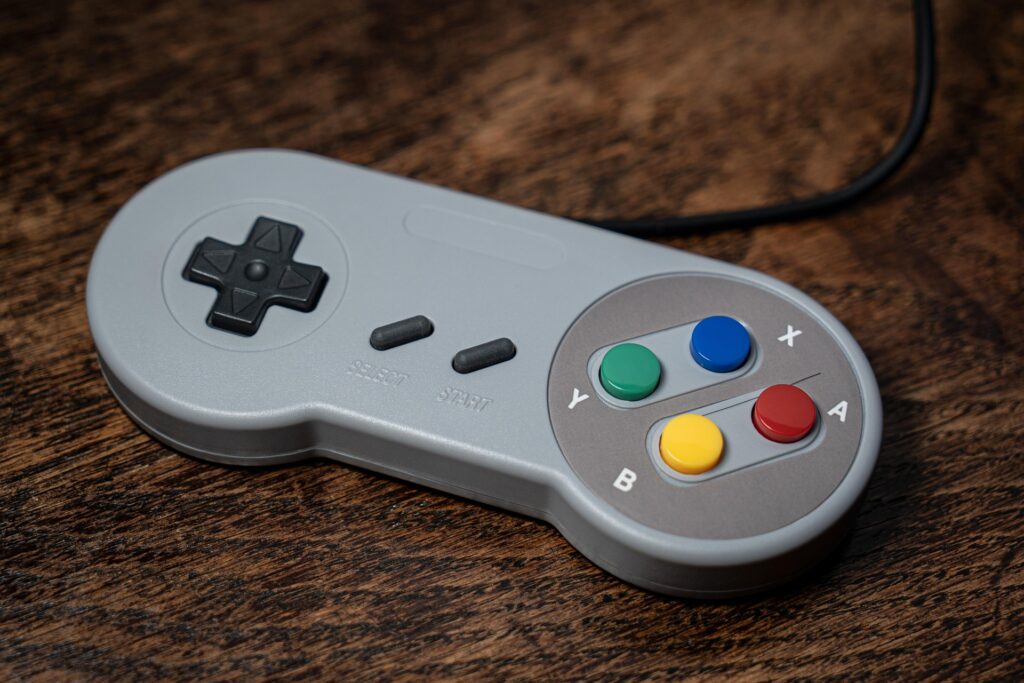
For PC gamers, there is nothing more immersion-breaking than a controller that doesn’t follow your lead. You’re in the middle of a high-stakes match, only for your camera to slowly rotate on its own, or perhaps your character takes a step without you ever touching the stick.
If you’ve experienced these frustrations, you aren’t alone. These issues are common, but they don’t mean your hardware is ready for the trash. Often, your controller is perfectly fine—it just needs a digital “tune-up.” Learning how to calibrate controller on PC is one of the most effective ways to restore precision, responsiveness, and control to your gaming setup.
In this guide, we will break down the essential steps to perform controller calibration (windows), explain how to master deadzone calibration, and share tips to keep your gamepad running like new.
What Does “Calibration” Actually Do?
To understand why you need to calibrate controller on PC, think of your gamepad as a high-precision instrument. Inside your thumbsticks are mechanical sensors called potentiometers. These sensors measure the exact position of your stick.
Over time—due to dust, internal wear, or simple environmental changes—the “center” point of these sensors can shift. When the computer thinks the “center” is slightly to the left, it translates that into movement, creating the dreaded “stick drift.”
Gamepad calibration is the process of telling your Windows operating system to “forget” the old, incorrect sensor data and re-map the true center point and the outer boundaries of your sticks. By performing this reset, you eliminate erratic movement and ensure that your physical input matches the digital output on your screen.
Step-by-Step: How to Calibrate Controller on PC
You don’t need to download sketchy third-party software or buy expensive diagnostic tools. Windows 10 and 11 have a hidden, robust calibration wizard built directly into the operating system.
1. Accessing the Game Controller Settings
The fastest way to reach the configuration menu is through the Windows “Run” command:
- Press the Windows Key + R on your keyboard simultaneously.
- In the box that pops up, type
joy.cpland press Enter. - A window titled Game Controllers will appear. This is your command center. You will see every gamepad currently connected to your system listed here.
2. Testing Before Calibrating
Before you start the calibration process, it’s good to see if it’s actually necessary.
- Select your controller from the list.
- Click the Properties button in the bottom right.
- Switch to the Test tab.
- Move your sticks and press your buttons. If the crosshair in the test window is not perfectly centered when the sticks are released, or if the buttons don’t light up as expected, you are a prime candidate for calibration.
3. The Calibration Wizard
If you noticed issues in the Test tab, head over to the Settings tab within that same window:
- Click the Calibrate… button to launch the Device Calibration Wizard.
- Follow the Prompts: The wizard is very intuitive. It will ask you to:
- Center the sticks: Leave them in their neutral resting position.
- Rotate the axes: Move your sticks to their absolute limits (the “corners” of the circular motion). Tip: Don’t rotate them in a frantic circle. Instead, move them gently up, down, left, and right to ensure the software records the full range.
- Trigger movement: If your controller has triggers, you will be asked to pull them fully to their maximum depth.
- Once you reach the end, click Finish. Windows will now save these new calibration data points to your controller’s profile.
Mastering Deadzone Calibration
While Windows handles the basic alignment, many pro-level gamers need to take it a step further with deadzone calibration.
A deadzone is a digital “buffer” zone around the resting center of your stick. If the deadzone is set to zero, the game will try to register even the tiniest amount of wear-and-tear input from your controller, leading to drift.
Beyond simple calibration and deadzones, there is a whole layer of technical performance that dictates how your controller “feels” in your hands. If you’ve ever felt like your character is moving sluggishly despite your controller being perfectly calibrated, you are likely encountering Input Latency or an unfavorable Response Curve.
What is a Response Curve?
A response curve is the mathematical formula that decides how your stick movement translates to screen movement. Most games offer three common types:
- Linear: The camera moves at a consistent speed regardless of how far you push the stick. This is very predictable but can feel “twitchy” to beginners.
- Exponential: The camera starts slow near the center and accelerates rapidly toward the outer edges. This is excellent for long-distance aiming because it allows for micro-adjustments in the center but fast turning when you need it.
- Dynamic/Custom: Many modern shooters use a dynamic curve that adjusts based on the game’s situation.
If your controller feels “off” even after a perfect calibration, you may simply have the wrong response curve selected in your game’s menu. Try switching from Exponential to Linear and back again to see which one aligns better with your natural thumb movement.
Why Your Connection Method Matters More Than You Think
We often talk about wired vs. wireless as a matter of convenience, but in terms of gamepad calibration, it is fundamentally about data consistency.
When you use Bluetooth, your controller is constantly “handshaking” with your PC’s internal radio. If there is even a tiny bit of electromagnetic interference—from your Wi-Fi router, a nearby smartphone, or even a metallic desk surface—the controller might miss a polling signal. To your brain, this feels like “input lag.” To your PC, it looks like a momentary loss of calibration.
If you are a competitive gamer, always prefer a wired connection. By using a high-quality USB cable, you guarantee a constant, stable polling rate (the number of times the controller reports its position to the PC per second). Higher, more stable polling rates make your movements feel “tighter” and allow you to set much smaller, more precise deadzones.
Does Age Affect Calibration?
It is a hard truth of gaming that hardware is organic in its failure. Even if your controller is software-perfect, the plastic components themselves age. The internal springs—the tiny metal coils that pull your stick back to center—naturally relax after a few thousand hours of play.
You might notice that even with a perfect calibration, your stick feels “looser” than it did on day one. This is because the spring can no longer fight against the friction of the sensor housing as effectively as it once did. When you reach this stage, standard calibration can only do so much. At this point, the best professional advice is to increase your deadzone slightly every six months. It isn’t a failure—it’s just “aging” your controller’s software to match its physical state.
By understanding these invisible factors—response curves, connection stability, and physical spring degradation—you transform from a standard player into a hardware expert. You are no longer just fixing a drift; you are fine-tuning your entire interface to match your personal playstyle. This level of customization is exactly what separates the casual player from the pro, and it’s why understanding your controller’s “personality” is just as important as knowing how to calibrate it.
Finding Your “Sweet Spot”
If you find that your controller still drifts after using the Windows wizard, you likely need to increase your deadzone within your game’s settings:
- Open your game’s Controller/Input Settings.
- Look for a slider labeled Deadzone or Stick Deadzone.
- If your character is drifting, increase this value by small increments (e.g., from 0.05 to 0.10).
- The goal is to set the deadzone as low as possible while still keeping your camera perfectly still when you aren’t touching the stick. This gives you the most responsive movement without the annoyance of drift.
When Calibration Isn’t Enough: Troubleshooting
If you have performed a thorough gamepad calibration and your controller still acts erratic, the issue might be deeper than software.
- Dirty Internal Sensors: The most common cause of “unfixable” drift is dust or plastic shavings trapped inside the potentiometer. If you are comfortable with light maintenance, a can of compressed air blown into the base of the thumbstick often clears this up instantly.
- Firmware Mismatches: Many modern controllers (like the PS5 DualSense or Xbox Series X/S gamepad) require specific firmware updates to communicate correctly with Windows. Download the manufacturer’s official app (e.g., Xbox Accessories App or PlayStation Accessories) to ensure your hardware is fully updated.
- USB Interference: Sometimes, a weak USB cable or a crowded USB hub can lead to “noisy” data. Always plug your controller directly into the back of your PC (the motherboard ports) rather than a front-facing port or a secondary hub.
Summary Checklist for Success
| Step | Action | Benefit |
| Verify | Open joy.cpl -> Test Tab | Confirms if hardware is actually drifting |
| Reset | Calibration Wizard | Resets the software-defined center point |
| Refine | Adjust In-Game Deadzones | Eliminates ghost inputs in specific titles |
| Clean | Use Compressed Air | Removes physical debris causing sensor noise |
Final Thoughts
You don’t need to be a tech wizard to keep your hardware performing at its peak. Performing a regular controller calibration (windows) is part of basic PC maintenance, just like updating your graphics drivers or cleaning your screen.
By taking five minutes to run the calibration wizard and tweaking your deadzone settings, you can save yourself the headache of buying a new controller and get back to what really matters: winning the match. If your controller feels crisp, accurate, and responsive, you’ve done your job perfectly!